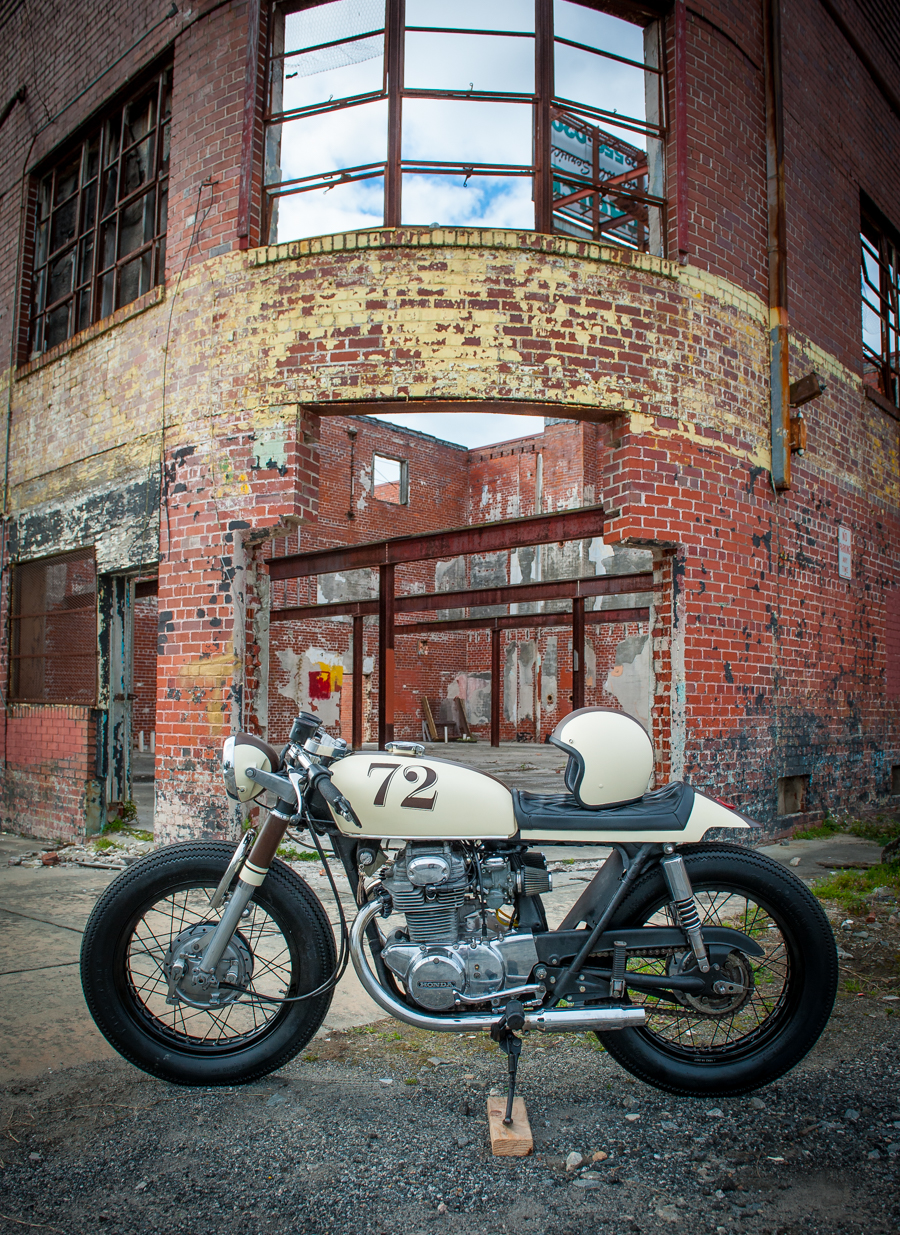
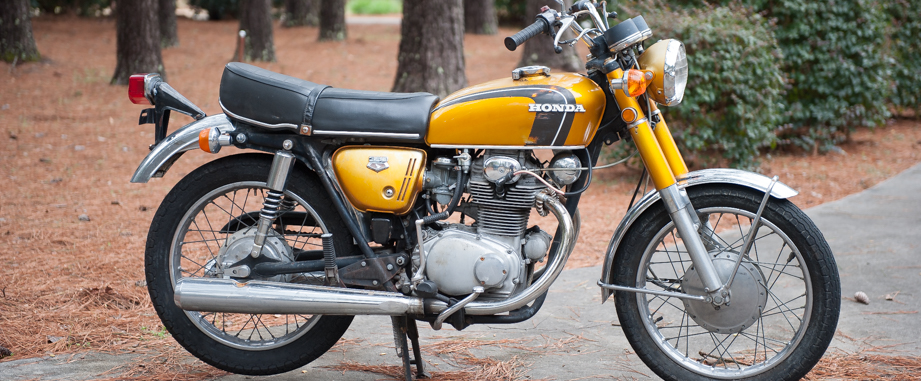
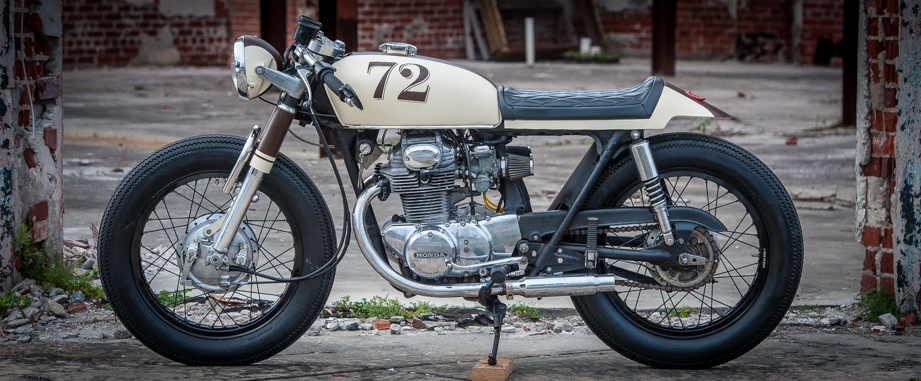
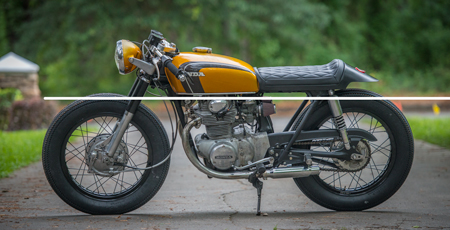
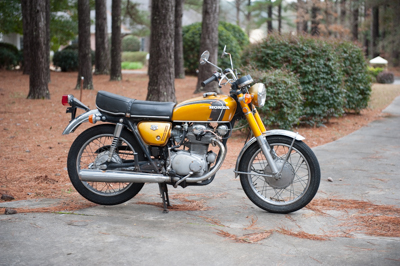
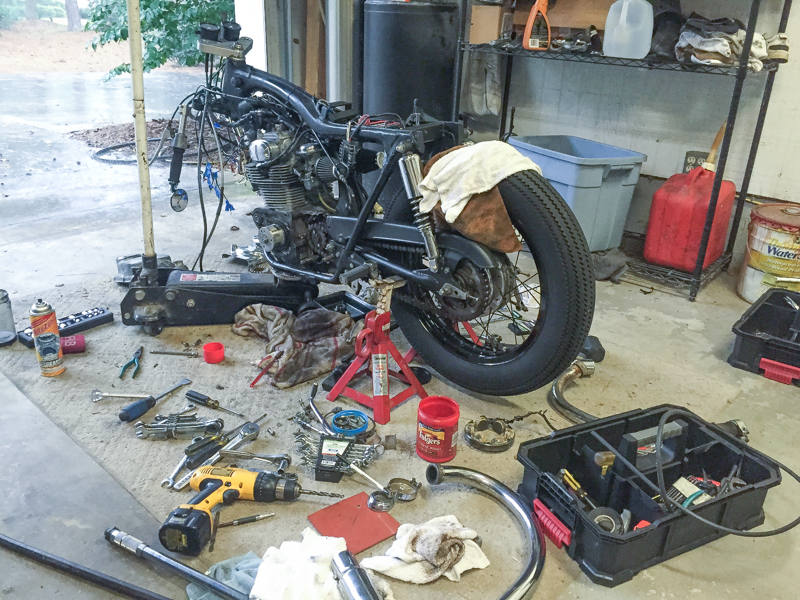
Build SpecsThis is a true garage build of a 1972 Honda CB350. It was purchased on Ebay for $1000 and then rebuilt cafe style. Key changes include:
|
|
|
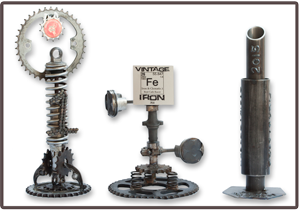
Awards
|
Seat Pan Development |
|
|
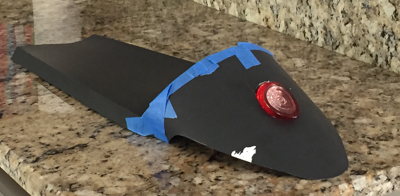
The seat pan was developed by mocking up foamcore and cardboard pieces to find the best size, shape and placement. |

|
|
Here the tailight was fit. Made in two pieces, the pan itself and the bump are taped together. Later, the two cardboard parts are seperated to be scanned for the CNC file to run the plasma cutter. |
|
|
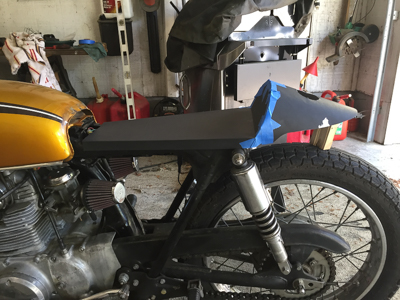
Cardboard mock up is positioned on the bike to check size shape and wheel clearance. |
|
|
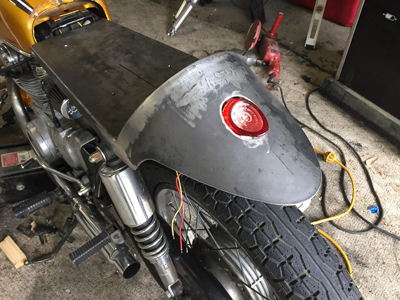
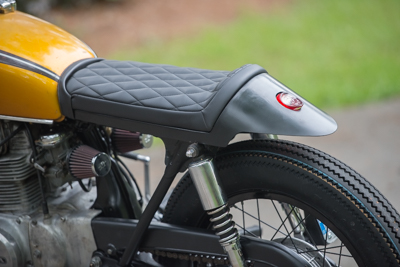
Sides of the pan were bent down and the seat back was bent up. Then, the bump was rolled and welded to the pan. A small plate was welded underneath to mount the light. |
|
|
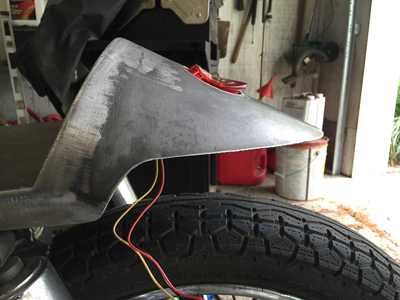
Final look at the seat bump for wheel clearance and tail light installation. |
|
|
The seat was made from high density marine grade foam and covered with a diamond tufted black vinyl. It is thru bolted from the bottom into star nuts embedded in the starboard base. |
|
|
A small pan was welded in between the frame to hold an Antigravity lithium battery, Ricks Rectifier / Regulator, and the starter solenoid - plus the taillight wiring. Replacing the stock airboxes with K&N pod air filters complete this area of the bike. |

|
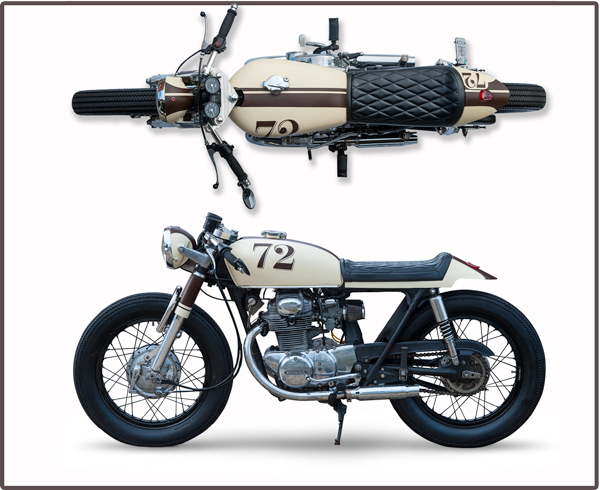
Fine Tuning
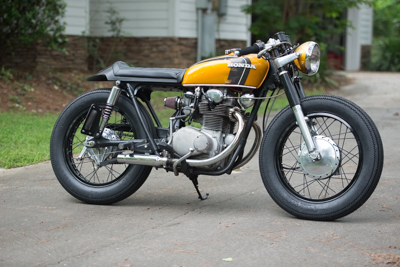
The relationship of the seat and tank are important elements of design on any Cafe Racer. In the first image here, you see the seat is an inch too high. Since the seat cannot go any lower, the tank was raised 1 inch. All mounts were cut and re-welded up an inch. Once completed, everything lines up across the bottom of the tank and seat to gave the bike a little more "waist" . Like a fine woman, a bike needs its figure!
|
|
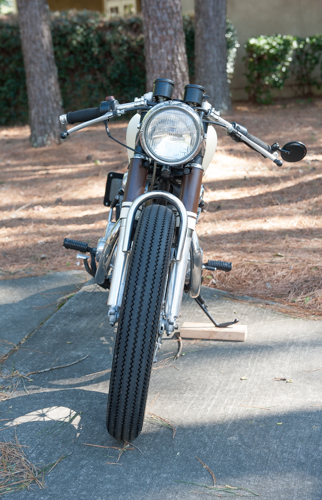
It's What's Up Front That Counts |
|
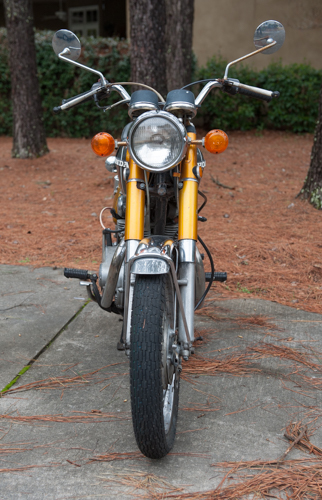
Time to clean up the front end. Lower everything down and replace a few items. |
New Clip-on Bars , headlight mounts, triple tree, and gauges. |
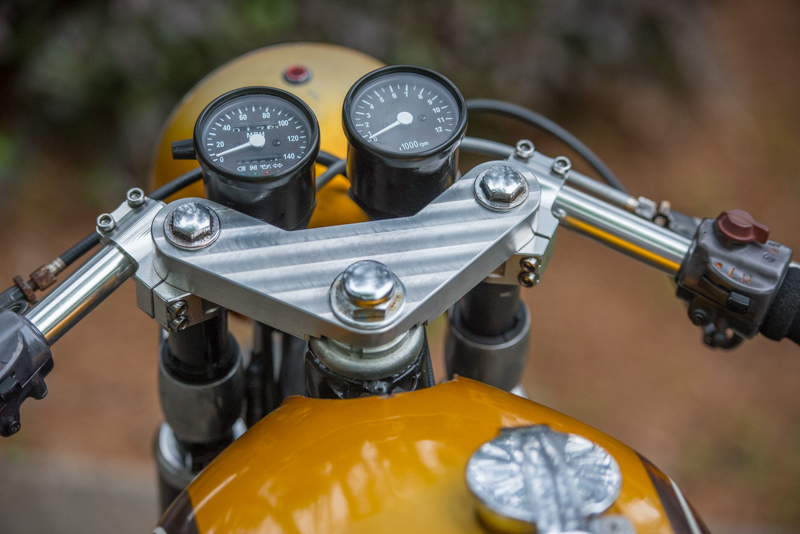
This triple tree upper flatens out the top end cleaning up the install of two brand new gauges.
Lining Things Up
The position of the headlight can make or break the look of a Cafe Racer. Out with the old headlight flanges that forced where the headlight is placed. In with some new aluminum mounts that allows the headlight to be lowered to optimum position.
|
|
Let's Talk TiresFirestone Champion DeluxeYou haters can leave your gripes at home! 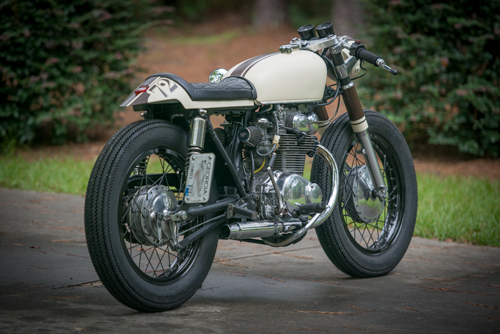
|
Are there better tires out there? Fur sur! Of course, that means new wider aluminum rims to handle the tire width properly. Strung up with black spokes on polished hubs. 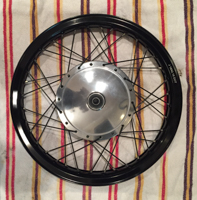
|
Every Girl Needs Some Jewelry
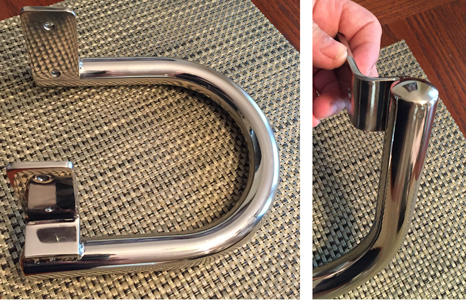
Stainless Steel heavy wall fork brace is bent up to support the forks. Even the ends are capped. |
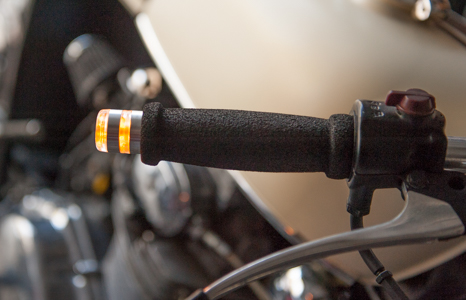
Front LED blinkers are cleanly mounted on the handle bar ends. |
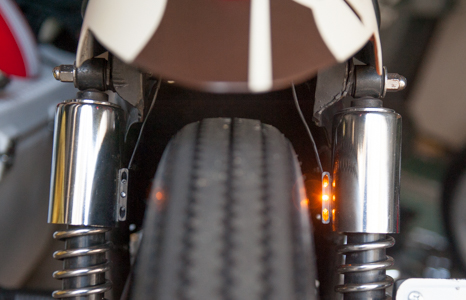
Rear LED blinkers are tucked away inside the shock housings. |
The Innards:Not all is pretty work. For now, this motor runs pretty well. We will wait till it needs an upper to do much more to it. Plenty still needs some attention:
|
|
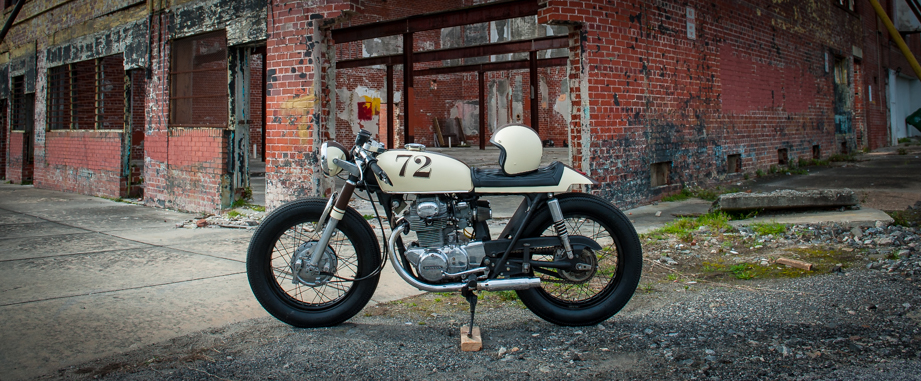
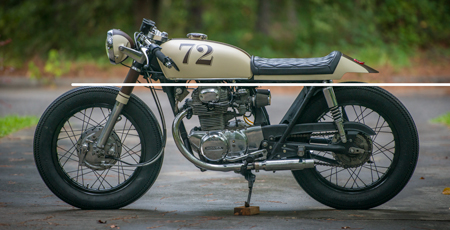
At last - The PaintAnything but Black! 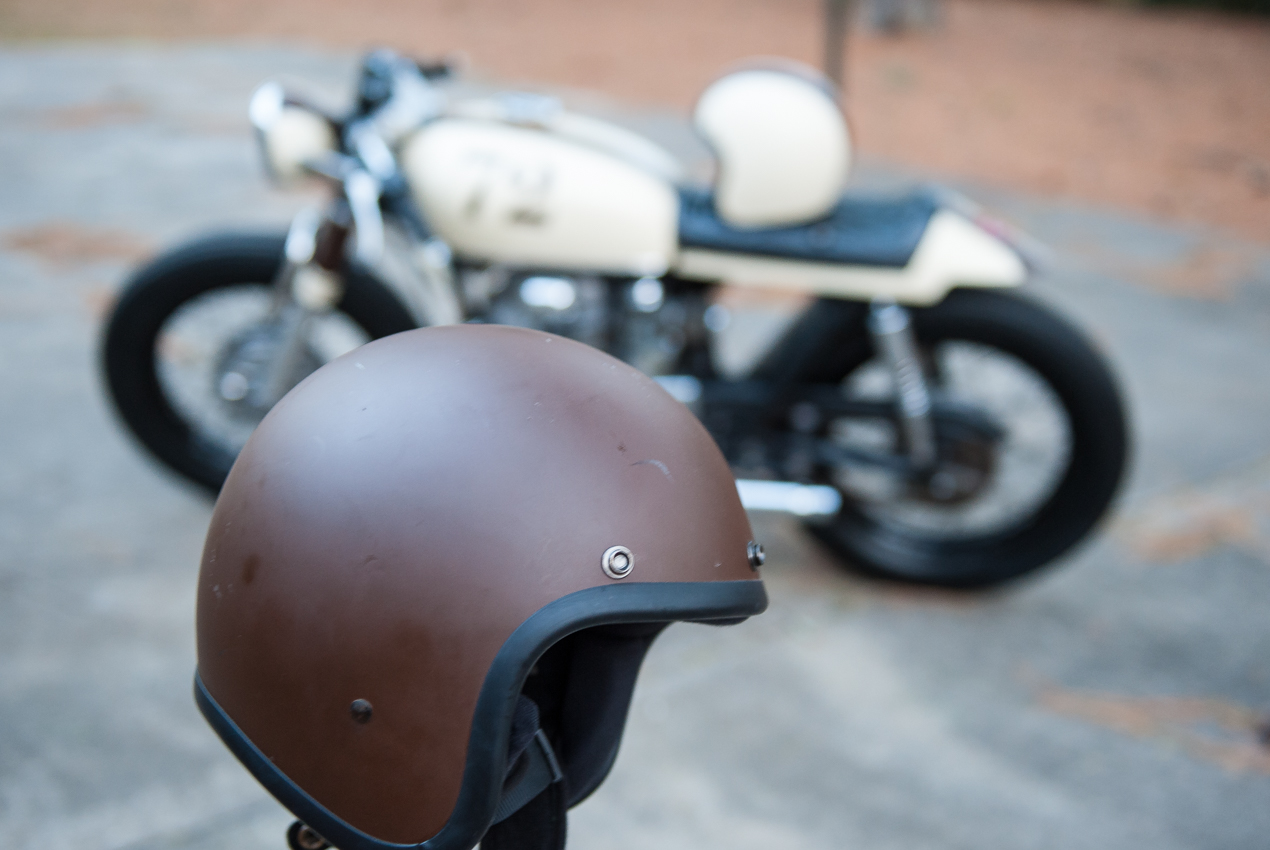
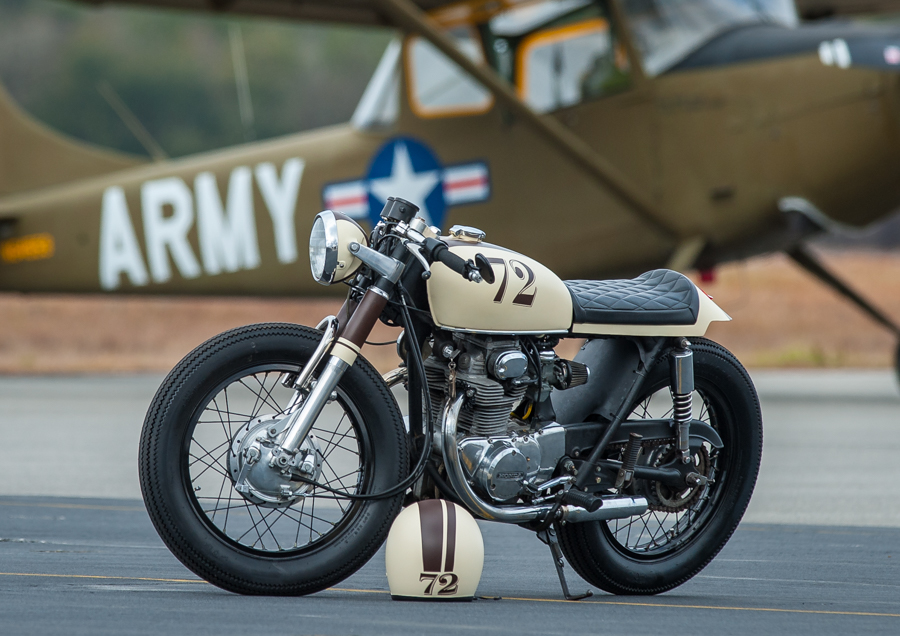
Inspired by the color of an older helmet, the paint scheme was developed with a local Tattoo Artist. |
Not just any painter would do. It had to be someone with passion - an understanding of the era this came from. No better place to go than the tattoo gallery. After a few consultations, we agreed that it needed to be consistant with 70's styles. No airbrush skulls or flames this guy does day in and day out. Oh yea, we need a number, but what one? Well, she is a 1972 model, so lets use 72. It was done. To be honest, nothing more than that was defined. Only these simple guidelines:
A true artist brings their best if you allow them ownership. He did it proud! |